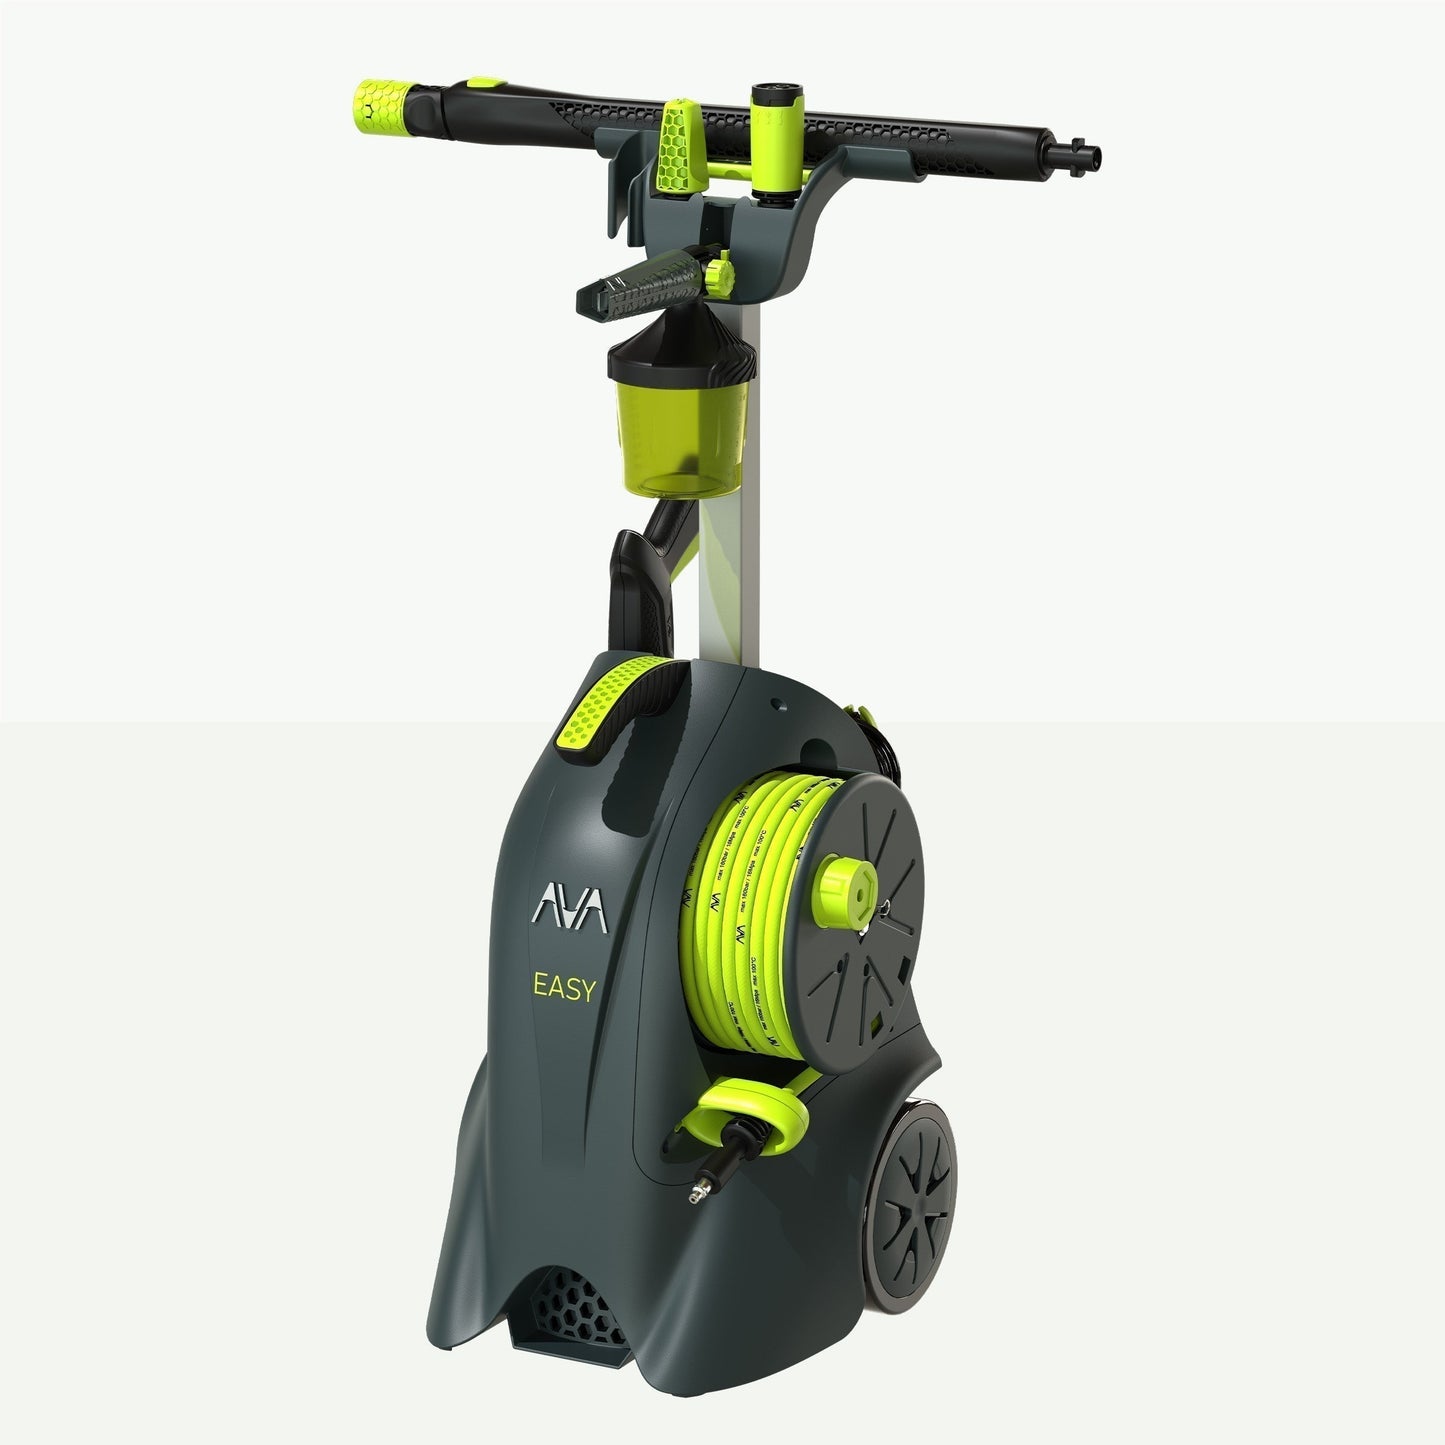
This guide shows how you can easily replace the hose and swivel on your Easy P40-P60.
There are three options covered in this guide:
- Only change hose: Follow step 2.
- Change hose, and complete swivel kit: You need Part EA 06. Follow all steps.
- Change hose and/or only outer part of swivel, (square connector): You need part UN 03.
- Follow step 1-3, and point 10 under "12. Assembly sequence."
While the guide itself doesn’t involve many steps, each one is described in detail to make the process as easy as possible for you – and to ensure the best possible result. We recommend reading through all the steps before you begin, so you fully understand the procedure and have the necessary tools ready.
Always unplug the pressure washer from both the mains power and the water inlet before starting any service.
Click here to read our article regarding safety.
Even after disconnecting the power and water, there may still be pressurized water in the hose. Discharge this pressure by pulling the trigger on the gun in safe direction.
Tools:
- Torx 25 (T25)
- Flathead screwdriver, or similar tools.
1. Overview of components
Note: Swivel kit (EA 06) is complete with swivel, O-rings, square head quick connector and E-clip (part b-e)
Kit:
b) E-clip (10mm).
c) Easy Quick connector Spring/Easy Quick Connector cover.
d) Square head Quick Connector.
e) Easy Brass Axle Water Outlet (new O-rings included, can also be found in AVA First Aid Kit 11-120-503)
-
- O-ring 8*1,8mm, NBR 90
- O-ring 8,5*2mm, NBR 90

2. Unwind and disconnect hose
a) Pull the hose all the way out of the reel until the swivel is fully visible.
b) Push in the release button on the swivel and pull out the hose.
c) Remove hose from the 2 clips in the reel.

3. Disconnect the Square head quick connector
a) Remove the e-clip using a screwdriver carefully.
b) Pull out the square head quick connector.

4. Pull out the reel

5. Release the pump module
Unscrew 5 screws (T25).

6. Remove the water filter
Unscrew the water filter.
7. Pull out the Pump module
a) Place your hands on the green hose guide and inside the groove in top. Lift out the pump. The pump needs to be maneuvered up and down before it loosens. Do not use excessive force. Be aware the start switch and the inlet funnel at the top of the pump.
b) Pull out the cable's bend restrictor. Remember to install this during the reassembly process.
c) Place the pump on a flat surface.

8. Remove the Pump Head Bracket
Unscrew 2 screws (T25).

9. Remove U-pin
Tilt out the U-pin carefully with a screwdriver.

10. Loosen the reel cabinet from the pump
a) Remove the start switch to access the screws.
b) Unscrew 2 screws (T25).

11. Disassemble the outlet pipe
a) Unclick 2 clips on the motor waterproofing cover.
b) Pull away the cover and the reel cabinet.
c) Pull out the outlet pipe.

12. Assemble sequence
When you are now going to assemble the machine, you can perform all the steps above in reverse order.

The assembly steps 1-13 (as shown on picture) are as follows:
- Put the outlet pipe into the pump head outlet. Check the O-rings for visual damage. Secure the pipe to the outlet by placing the U-pin (1.1) in the groove. Ensure the U-pin is fully inserted.
- Put the reel panel onto the outlet pipe. Make sure that the hexagon interface align with the hexagon interface on the pipe with the hexagon groove in the panel. Check O-ring for visual damage.
- Fasten the reel panel to the pump with 2 screws (T25)
- Click the motor protection cover onto the reel panel. Check that both clips are locked.
- Fasten the pump head bracket onto the reel panel with 2 screws (T25).
- Check that the start switch is placed at the pump.
- Put the pump into the machine cabinet:
- Halfway in, insert the cable's bend restrictor (7.1) into the corresponding slot in the cabinet.
- Gently press the pump module all the way in so that the start button protrudes on the other side of the cabinet.
- The module needs to be maneuvered up and down before it falls into place – do not use excessive force
- Secure the pump module with 5 screws (T25).
- Push the reel onto the outlet pipe, all the way into the reel cabinet.
- Push the square head quick connector onto the outlet end. Before you do so, lubricate the O-rings with acid-free Vaseline or equivalent.
- Install the E-clip onto the outlet pipe.
- Install the hose into the quick connector. Connect the hose end without rubber sleeve. Remember to thread the hose through the green hose guide. Also inspect the O-ring for visible damage.
- Reinstall the water filter.


